Midjourney Settings to Master AI Images
Find out how to use the Midjourney interface & settings to produce great images
AI Tool: Midjourney
Level: Intermediate
Access: Paid
This guide is part 3 of the course Create Amazing Images with Midjourney.
In this guide, we will cover:
Understand image generation settings
Apply key settings for fine-tuning
Learn how to apply stylisation & variation
Improving image quality
Generation modes
If you need help setting up Midjourney see part 1 of this course.
Understand Image Generation Settings.
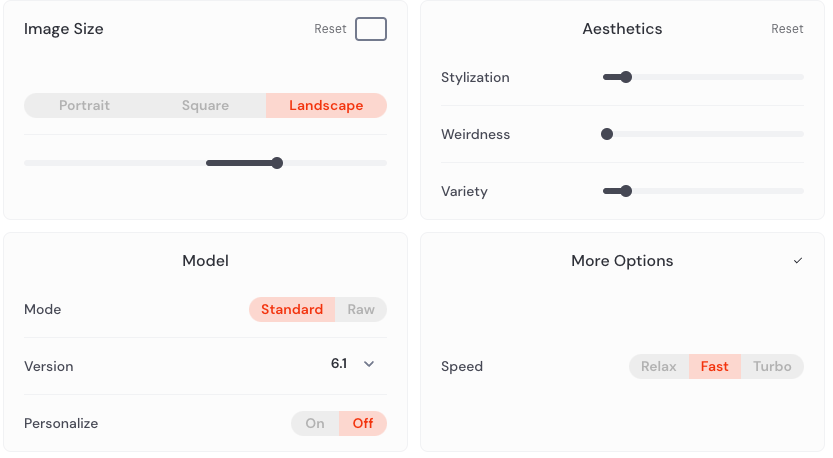
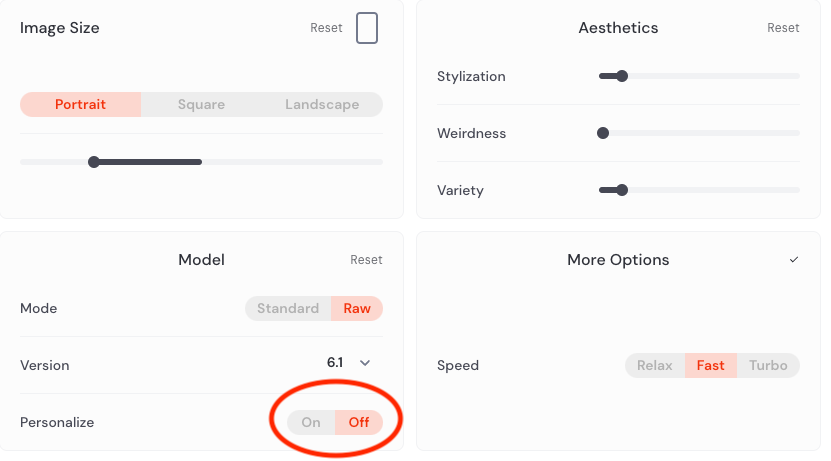
Midjourney's web interface provides a nice, user-friendly platform to tailor various settings for more precise image generation.
Understanding these settings and their effects is crucial for taking your skills to the next level and achieving the best results.
Aspect Ratio: Framing Your Composition
The aspect ratio plays a pivotal role in determining the composition of your generated images. Different ratios suit different types of content:
Wider Ratios (e.g., 16:9): Ideal for landscapes, scenes, or any content that benefits from a broader canvas.
Taller Ratios (e.g., 4:5): Suitable for portraits, product shots, or any content that requires a more vertical orientation.
Adjusting Aspect Ratio:
Preset Buttons: Select common ratios like Portrait, Square, or Landscape.
Slider Control: Drag left for taller images or right for wider ones.
Add to Prompt: Add the specific aspect ratio to the prompt using the '--ar' format.
Prompt Example
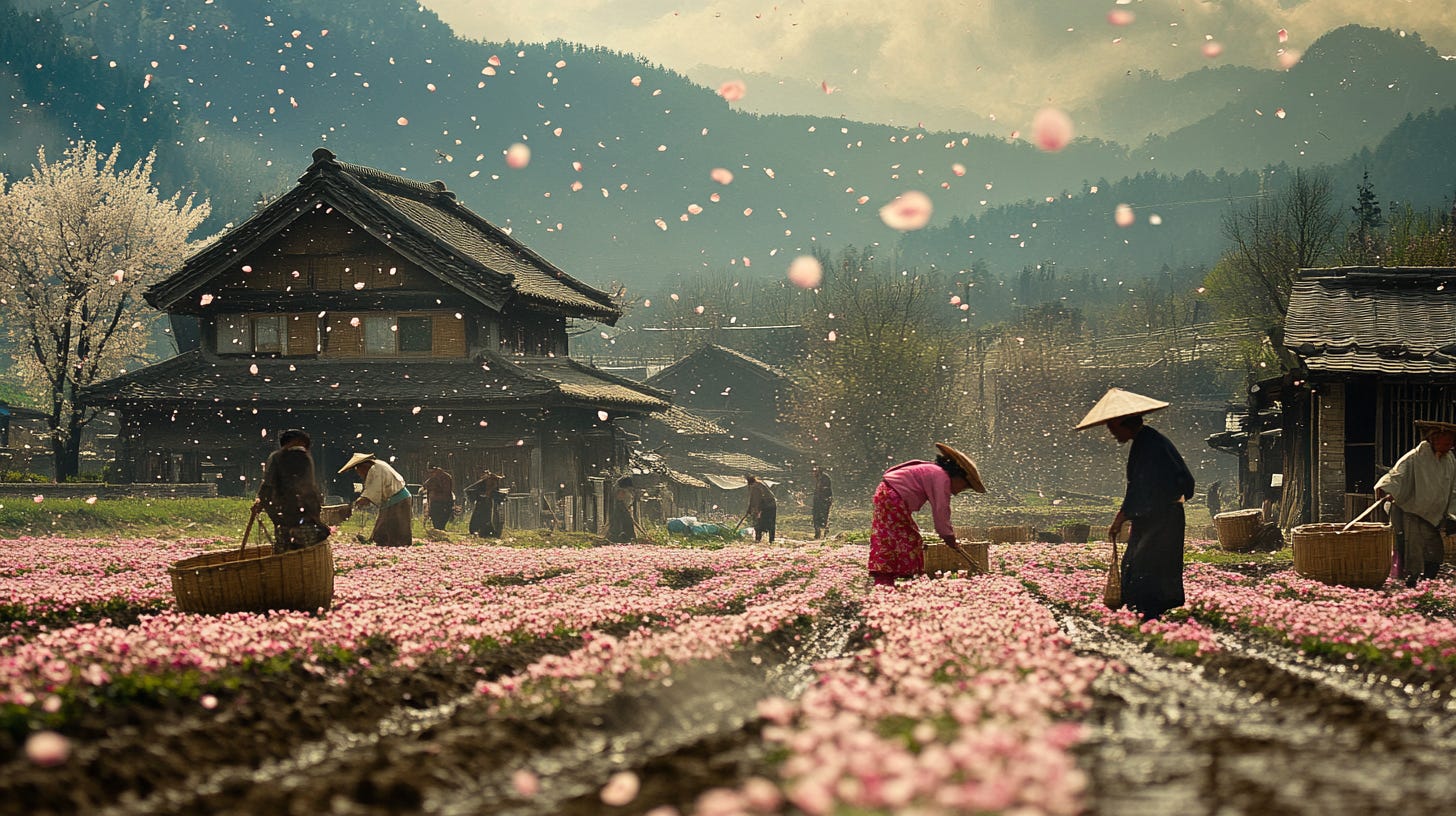
A countryside scene from ancient Japan, villagers working in fields, rose blossom falling --ar 9:16
Tip: Consider the end-use of your images. For professional social media campaigns, generate the same concept in multiple ratios to optimise for different platforms.
Modes: Choosing Your Aesthetic
Midjourney offers two image generation modes:
Standard Mode: Applies Midjourney's default aesthetic, resulting in more stylised, artistic outputs. Ideal for creative projects where artistic interpretation is desired.
Raw Mode: Provides a more direct interpretation of your prompt with less artistic enhancement. Suitable for projects requiring literal, photorealistic results, such as product mockups or architectural visualisations.
Prompt Example:
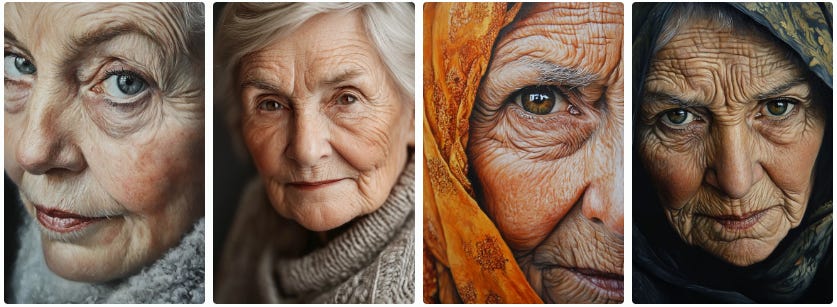
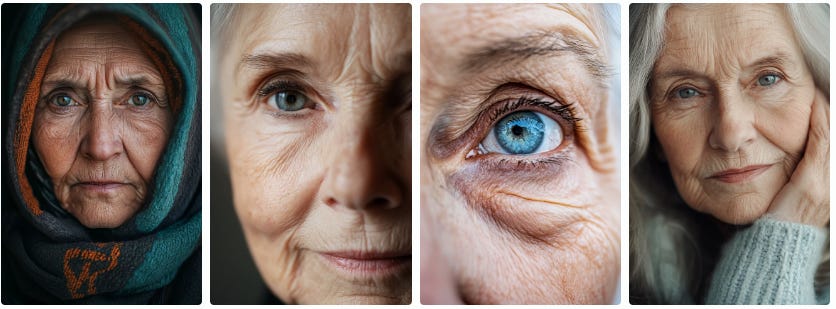
Close-up portrait of a wise old woman, with kind eyes and, a worn face showing years of wisdom and experience.
Standard
Raw
Tailoring Images to Your Style
The Personalise feature allows you to apply your personal style preferences to image generation, based on feedback you can give about images you like.
Enabling personalisation helps create images that align with your taste, maintaining a consistent style across projects. Midjourney generates images with this setting tailored to your image ratings.
Commands: Quick In-Prompt Access to Settings
Another way you can use these settings is by putting them at the end of the prompt. This is a legacy feature from when Midjourney could only be used in the Discord server in a geeky way, but they can also be handy for normal people!
We saw them used earlier for aspect ratio.
These commands provide quick access to all these parameters:
-ar w:h: Set aspect ratio (e.g., -ar 16:9).
-v number: Specify Midjourney version (e.g., -v 6).
-q value: Set quality (1 for draft, 2 for high quality).
-no element: Exclude specific elements from the image.
Just remember to place these commands at the end of your prompt.
Apply Key Settings for Fine-tuning.
Hi there we’re at the paywall. If you want to learn about AI and gain useful & valuable AI skills for your work and life, with my weekly practical guides, courses, podcast, articles, and exclusive community chat - join today with a monthly or annual subscription. AI can't take your job if you know how to use it. I look forward to helping you learn AI the easy way.
Keep reading with a 7-day free trial
Subscribe to The FuturAI to keep reading this post and get 7 days of free access to the full post archives.


